
How to Trim a Hedge Neatly
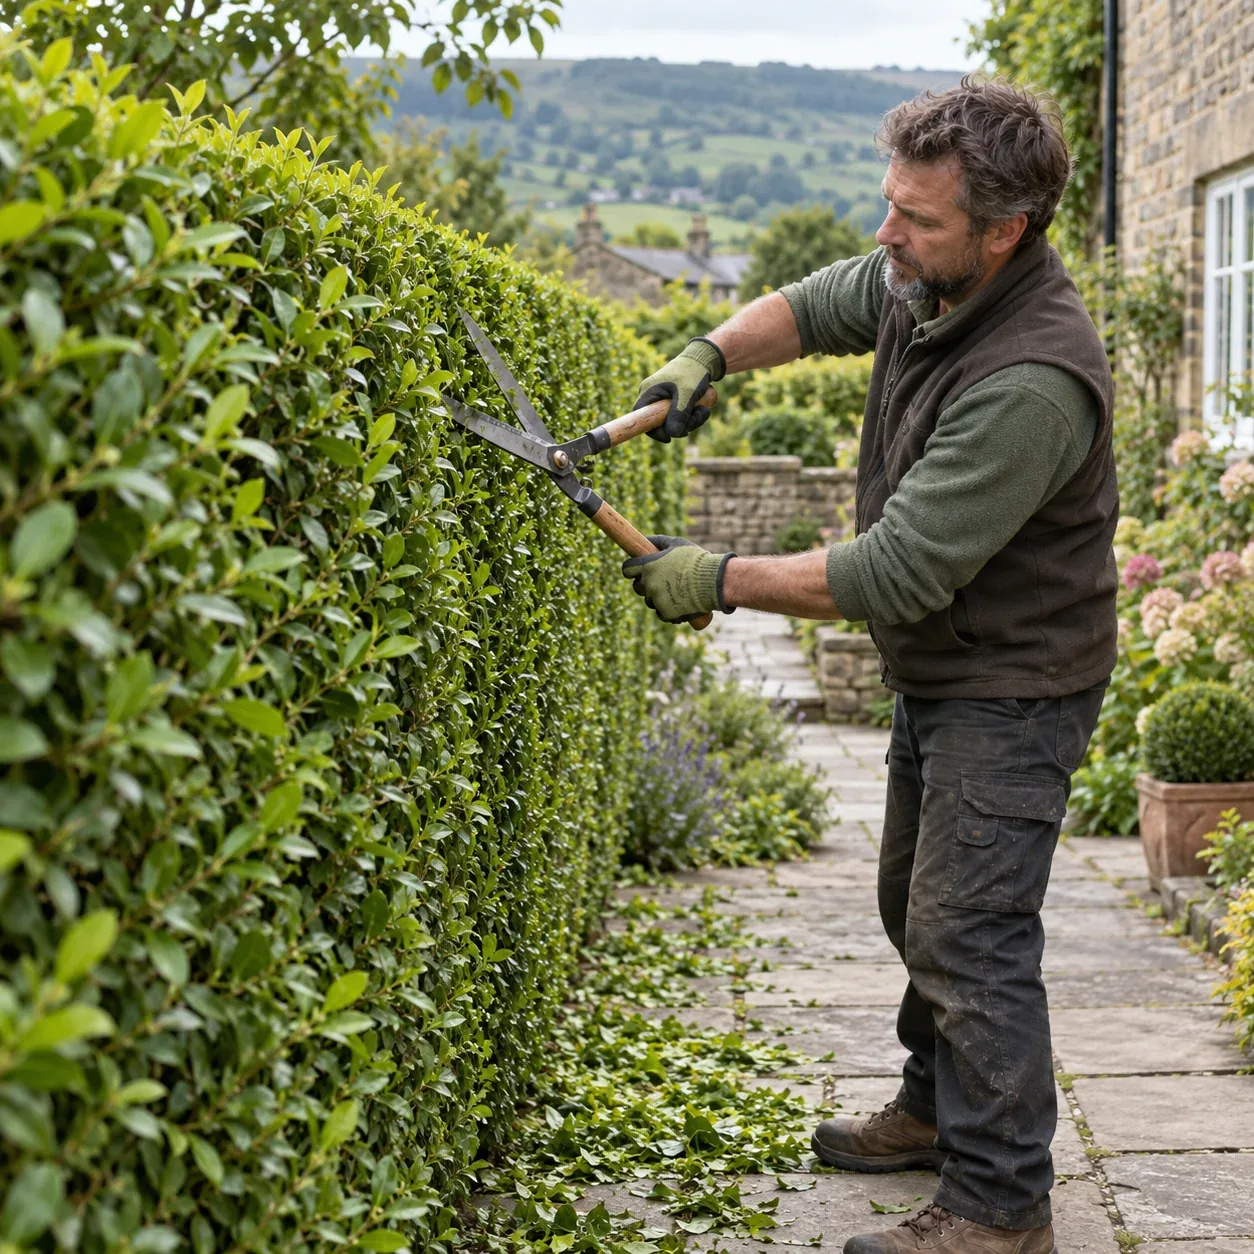
Trimming a hedge requires care, timing, and an appreciation for nature. With sharp tools and safety gear, she checks the hedge for overgrown or dead branches. She follows specific trimming schedules based on the plant type, like evergreen boxwood, which needs several trims in warmer months, to promote health and appearance. As she trims, she steps back to check balance and shape, creating clean lines while supporting local wildlife. Her method turns her garden into an outdoor space that reflects care and skill.
Choosing the Right Trimming Time
Timing your hedge trimming is important for keeping plants healthy and attractive. Focus on young growth, trimming shoots under a year old helps maintain a strong hedge. For older hedges, consider their type; informal varieties benefit from an annual trim, while formal hedges may need several trims during the growing season. Regular maintenance improves appearance and promotes denser foliage.
RHS Guidelines
The Royal Horticultural Society (RHS) offers specific advice for popular hedging plants. For evergreen options like boxwood, trim two or three times in warmer months to maintain shape and health. For flowering species, timing is crucial: cut them back right after blooming to avoid losing future flowers, ensuring bright blooms next season.
Wildlife Considerations
Consider local wildlife when planning your trimming. The nesting period typically runs from early March to early August; check for active nests before using cutting tools. According to the Wildlife & Countryside Act 1981 regulations, it’s illegal to damage or disturb bird nests during this time. Take a moment, the beauty of nature thrives when we work together in our gardens.
Essential Tools and Equipment Selection
Selecting the right tools impacts how efficiently you trim your hedges. Start by assessing the size and type of hedge: for smaller, softer ones, hand-held shears may suffice; larger hedges require powered trimmers like corded electric or battery-operated models, each offering benefits in weight and ease of use. Sharp blades are crucial; maintaining them ensures clean cuts that heal quickly and reduce stress on plants. For tall hedges, use long-reach trimmers for safety and precision.
Prepare Your Workspace
Before trimming, prepare your workspace by clearing away debris that could block movement or cause accidents. Lay down an old sheet under the hedge to catch clippings, making cleanup easier. Keep a cordless leaf blower nearby for quick removal afterward. Having the right equipment boosts performance and enjoyment in maintaining your outdoor spaces.
The Pros & Cons of Hedge Trimming Techniques
Pros
-
Regularly trimming your hedges helps them grow thicker and keeps their shape looking neat.
-
Timing your trims based on the type of hedge you have can boost flowering and overall health.
-
Light pruning allows better airflow, which can help reduce disease risks in your hedge.
-
Using the right tools, like powered trimmers for larger hedges, makes the job easier and less taxing on your body.
-
Following wildlife regulations protects nesting birds during key seasons while ensuring compliance with the Wildlife & Countryside Act
-
Taking care of your hedges afterward, such as mulching and fertilizing, promotes healthy regrowth and extends their lifespan.
Cons
-
Trimming at the wrong time can reduce flowering or damage your hedge's structure.
-
Cutting too much can stress the plant, leading to poor health or decline over time.
-
You may need specific tools that require a significant initial investment and ongoing maintenance costs.
-
Legal restrictions on trimming dates (1 March to 31 August) limit when you can work on qualifying hedgerows in England.
-
Ignoring safety practices while using powered tools can lead to accidents or injuries during trimming operations.
-
Not properly managing overgrown hedges might mean you'll need more intensive renovation efforts, which could put the plants' survival at risk.
Safe Hedge-trimming Practices
Safety is crucial when trimming hedges, and proper preparation can make the session go smoothly. Start by wearing safety goggles and sturdy gloves to protect your eyes and hands from debris and sharp edges. For tall hedges, use stable ladders or platforms for solid footing, this prevents accidents and allows safe access to higher areas. When using powered tools like electric trimmers, keep them below shoulder height whenever possible to reduce strain on your arms and improve control over cutting.
Weather Considerations
Check the weather before starting! Trimming in wet conditions makes surfaces slippery and increases the chances of uneven cuts due to poor visibility. For best results, choose an overcast day, cloud cover protects freshly cut leaves from harsh sun rays. Also, consider temperatures; if it’s too hot or near freezing (below -5°C), reschedule for better weather, a healthy hedge grows well with proper care.
Creating Straight, Tapered Sides
To get the perfect taper on your hedge, envision the desired shape before trimming. For formal hedges, create a slight angle that allows light to reach all growth levels: wider at the bottom and narrowing as it ascends. This design not only looks appealing but also maintains healthy foliage lower down where sunlight is vital. Use a taut string or markers along the edge to guide your cuts for straight lines.
As you trim each side of the hedge, move your trimmer smoothly while applying even pressure. For taller plants, adjust your technique, arc movements can direct clippings away from yourself and the shrub. Regularly step back to assess your progress; make small adjustments if needed. Using these methods will result in clean edges that enhance individual plants and improve overall garden design.
Essential Tools for Perfect Hedge Trimming
| Hedge Type | Trimming Frequency | Best Trimming Time | Notes |
|---|---|---|---|
| Box (Buxus sempervirens) | Twice or three times during the season | During growing season | |
| Holly (Ilex aquifolium) | Once | Late summer | |
| Privet (Ligustrum) | Twice or three times during the season | During growing season | |
| Lawson’s cypress | Twice | Spring and summer | |
| Yew (Taxus baccata) | Twice | Summer and autumn | |
| Berberis darwinii | Immediately after flowering | Suitable for informal hedges | |
| Forsythia | After flowering | Remove some older stems | |
| Fuchsia magellanica | In spring | Remove old stems | |
| Rosa rugosa | In spring | Remove thin twigs | |
| Conifers (general) | Not too late after August | Can encourage bare patches if trimmed late | |
| Agricultural hedgerows | Prohibited from 1 March to 31 August | Exemptions apply under certain conditions |
Formative Pruning for Young Hedges
Young hedges need formative pruning to create a strong structure and encourage healthy growth. This shaping is crucial in the first couple of years after planting. For deciduous types like hornbeam or field maple, cut back the main upright shoots by about one-third during winter, right after planting and again the following year, to promote branching above a bud. Also, trim side shoots down by one-third to maintain a narrower shape while ensuring vigor. Evergreens require different care: leave their main shoot unpruned initially and focus on unruly side branches, allowing time to settle in before major cutting.
As your hedge enters its second year, refine its shape further; if needed, cut other stems back by up to half but avoid touching the leading stem until it reaches the desired height. Once established at that height and width, which usually requires regular trimming, maintain health with consistent trims based on whether you choose formal or informal styles: typically once per year for informal hedges versus two or three times each season for formal ones.
Density Matters
Keep an eye on overall density! Regular light trimming promotes denser foliage while keeping everything looking good without harming plant health over time, a strategy worth considering as your garden grows under careful attention.
Managing Overgrown Hedges
When managing overgrown hedges, a mix of strategy and patience is essential. Start by checking how much your hedge has grown, if it’s taller or wider than desired, don’t worry! Work on one side at a time to help the plant recover while maintaining its health. Timing matters: late winter or early spring is best for trimming before new growth begins, but identify specific plants as they have different needs.
Deciduous Species
For serious overgrowth on deciduous species like privet or hornbeam, begin by cutting back the outermost branches. This improves airflow and encourages fresh shoots from deeper inside the plant. Avoid aggressive pruning, remove no more than one-third of its overall height in a single session. For conifers that may not handle hard pruning well, consider giving them space instead of risking their vitality through drastic cuts.
Maintaining Perspective
As you work around your hedge, take breaks to step back and assess your progress; maintaining perspective ensures an even shape as you sculpt it into something manageable and visually pleasing. Some species respond positively to rejuvenation techniques like coppicing if they’ve become excessive, this involves cutting them down close to ground level during dormancy so they can grow back fresh in future seasons.
Success lies in balancing control and encouragement, a gentle approach nurtures resilience while restoring harmony within your garden space!
Secrets Behind Perfect Hedge Trimming Revealed
-
Trimming hedges is not always straightforward; the best time and method depend on the plant type and hedge style. Established formal hedges typically need trimming two to three times a year, while established informal hedges often require one trim annually.
-
It’s a myth that any time is good for cutting hedges. The Wildlife & Countryside Act 1981 prohibits harming wild bird nests during nesting season, from early March through August. Trimming during this period can lead to legal issues.
-
Some believe all hedges should be trimmed in February, but this isn’t true for every situation. While many benefit from pruning then, the timing depends on the variety; some plants should only be pruned after flowering.
-
There’s a misconception that heavy pruning helps overgrown hedges thrive. In reality, if a hedge has grown too much, it’s better to work on one side at a time to allow recovery before tackling the other side.
-
Many think chainsaws are suitable for trimming hedges; yet, STIHL advises against using them. Chainsaws lack the safety features and precision needed for effective hedge shaping and maintenance.
Protecting Wildlife and Nesting Birds
As you plan your trimming schedule, consider the wildlife in your garden. The nesting season runs from early March to early August, so check for active nests before using your tools. According to the Wildlife & Countryside Act 1981, damaging or disturbing bird nests can have serious consequences, wait until after fledging if you find an active nest in your hedge. Respecting these natural habitats protects birds and adds diversity to gardens.
Timing Matters
Along with timing, consider a rotational approach when managing overgrown hedges. This method helps different sections of your hedge flourish while minimizing stress on plants and local wildlife. By staggering trims across various parts each year, you’ll encourage ongoing flowering and berry production without losing habitat structure. Overall, this practice promotes biodiversity in outdoor spaces while allowing for attractive hedges that fit well into landscapes!
Wildlife-friendly Rotational Trimming
When setting up a wildlife-friendly rotational trimming strategy, break your hedge into smaller sections. By working on one section at a time during each trimming cycle, the other parts can grow undisturbed. This approach keeps hedges tidy and provides ongoing habitat for nesting birds and pollinators throughout the year. If you have an overgrown privet or hawthorn hedge cut back heavily in previous years, start this season by tackling just one side: trim excess growth while leaving the rest to regenerate naturally.
Timing is Crucial Here,
Trimming early in the growing season allows plants to bounce back before peak flowering times. Keep track of which sections need work and when they were last trimmed; rotating cuts helps maintain balance in your garden ecosystem and encourages healthier plants. Observe any changes in local wildlife activity as you proceed; noticing more birds or helpful insects can confirm that you are fostering a thriving environment. Working with nature leads to lush landscapes where beauty and biodiversity coexist.
Clipping Cleanup and Aftercare
After trimming, focus on cleanup and aftercare to keep your garden looking great. Start by gathering all the clippings; leaving them can block grass growth and make things look messy. Lay out a tarp or old sheet under the hedge to catch cuttings for easier disposal. If you have many trimmings, consider using a leaf blower or vacuum shredder for efficient collection; shredding reduces bulk and simplifies composting.
Once you’ve cleared away the debris, apply mulch around the base of your hedge to provide nutrients and retain moisture during dry spells. Adding organic matter in late winter or early spring nourishes the soil and encourages healthy regrowth throughout the season. If you notice signs of nutrient deficiency in sandy soils or if drought conditions arise, apply a general-purpose granular fertilizer just before mulching to boost your hedges at this critical time. By combining these practices with regular maintenance, you’ll ensure that each trim benefits both appearance and plant health well into the future.
Mastering Your Hedge Trimming Skills
Mastering hedge trimming skills combines technique, timing, and understanding of plants. Start by sharpening your tools and knowledge about each plant’s needs, this understanding is crucial for effective pruning. As you trim, consider how light passes through the leaves; this helps determine where and how much to cut. For formal hedges, aim for a tapered shape with wider bases to nourish lower branches while keeping the tops narrower, a design that balances beauty and health.
Engage in the process: grip both sides of the trimmer firmly and apply even pressure as you glide through. Stepping back periodically gives you perspective; it allows you to see if you’ve achieved straight lines or need adjustments. Different varieties may require different approaches; some informal species benefit from gentle touch-ups instead of strict shaping rules, or vice versa. By customizing techniques based on what’s growing around you, you’ll gain confidence in transforming any hedge into an attractive feature in your landscape.
Find enjoyment in each session, the satisfaction from clean cuts turning into lush growth reflects the thoughtful decisions made during trimming. Embrace this learning curve: keep trying methods until they feel natural while fostering connections with nature’s greenery surrounding you!
FAQ
What is the best time of year to trim my formal hedge?
Trim a formal hedge two to three times during the growing season, depending on the species, as recommended by the RHS.
How often should I trim an established informal hedge?
Trim an informal hedge once a year, timing it with the plant’s flowering period to avoid interfering with blooming.
What tools do I need for trimming different types of hedges?
Choose trimming tools based on hedge size, growth rate, leaf type, and stem thickness; hand-held shears work for small hedges, while powered trimmers suit larger ones.
How can I ensure that I am not disturbing any birds' nests while trimming?
Check for bird nests before trimming hedges, especially between early March and early August, the main nesting season in the UK.
What safety precautions should I take when using powered hedge trimmers?
Wear safety goggles and gloves when using powered hedge trimmers, avoid wet conditions, and keep your workspace clear of obstacles for a safer trimming experience.
How do I maintain the health and shape of my young hedge as it grows?
Formative pruning is essential for young hedges, involving cutting leading shoots by one-third in winter and trimming side shoots to encourage bushiness and a fuller appearance.